

Time for some reflection after having designed and taught the new EMM (Executive Master of Management) course “The Value-Creating Board”, arranged for the first time in the fall of 2024.
The course has been a pleasure to develop and teach. As of today, BI has a number of basic management courses, either alone or in collaboration with institutions such as the Norwegian Confederation of Trade Unions (NHO) or the Norwegian Agricultural Cooperative. With the change in Norwegian law requiring at least 40% of each gender on boards – which will require around 10,000 new, female board members – it was natural to offer a board member course within BI’s Executive Master of Management program, which already has a high proportion of women.
When I develop courses, I do not start from a subject area, but rather from a description of “that”jobs” the student should be able to perform when the course is completed. I wanted to train people who could participate in boards of directors for developing companies, where the board’s role is both to have control over what is happening and to ensure focus on strategy and the future. In pedagogy, this is called ” constructive alignment ” – that is, you develop courses and teaching materials based on what is important for the students to learn (the learning objectives), not based on what you yourself want to lecture on or what is common within the subject area.
There are some things you just can’t avoid in a board course. You need to have something about legal matters – you can never escape board responsibility, and the Companies Act gives the board mandates and tasks that are not to be avoided. As I tell my students: Legal matters are not important until they are, at which point they are all that matters. You also need to have some financial knowledge – it doesn’t help to tell the Bankruptcy Court or the Tax Directorate that you’re not that good at (or interested in) accounting when your equity has evaporated. The rest is a mix of strategy, management and understanding external changes, such as new technology, the almost exploding AI, and ESG reporting and integration).
People who recruit for boards look for two things: management experience and domain knowledge. Both are knowledge areas where you can learn some principles and frameworks through textbooks, but in a board context you have to be able to put things into practice, and then you should have experience using the knowledge, not just reproducing it.
What should the course include?
Given that a board course can be everything and nothing – because the board is responsible for the entire company, without the mandate to go into the details – I chose to define the content of the course by recruiting a great team , who then contributed what they knew best.

The most important person to recruit was definitely Berit Svendsen , who I wanted as a development partner and co-teacher. Berit is the former CEO of Telenor Norway, and as extensive experience as a top manager, board member and chairperson. Berit has been present for most of the course, has contributed with comments, presentations, guidance and not least by letting me draw on her fantastic network. To top it all, she was named Board Chair of the year during the course, which certainly provides unmatched legitimacy!
I found the rest of the team at BI: Thomas Borgen, former CEO of Danske Bank and Board Chair of Kongsberg Digital, contributed his experience and network of contacts both as a senior manager and board member, as well as interesting lectures on the role of the board in strategy execution and risk management. Tore Bråthen, perhaps Norway’s foremost authority on corporate law, contributed his unparalleled legal expertise on board responsibilities, as well as a thorough and reflective perspective on what the new sustainability regulation entails. And Ketil Hveding contributed the basic, but oh so important economic understanding and a perspective on the challenges of small and medium-sized enterprises. Ketil also plays a key role in taking things from BI’s existing management course into this course. I also look forward to taking some of what we – and the students – have worked on and using it to enrich the courses we already have. And not least: I asked nicely to have Mari Berg Henie as the course coordinator – she is not just structured and knowledgeable, but also the koordinator of my other Exec courses, which makes life considerably easier for all involved.
Otherwise, the course has drawn on a great set of guest speakers, both to provide a grounded perspective on what it means to sit on a value-creating board, but also to lay a foundation for further development of the course: It is only when you hear from those who have the shoes on that you know what is important and relevant. (Constructive alignment, again…).
Guest speakers have been:
- Eivind Reiten, who spoke about the relationship with the owners. Eivind is the chairman of the board of directors of, among others, the Kongsberg group and one of Norway’s most experienced board and business leaders. His perspective on how to relate to owners – he has been widely criticized because he does not want to take dictation from state owners – was particularly interesting because he based his argument not on politics, but on the Norwegian Companies Act, which states that one cannot treat owners differently, and that a claim from an owner, however large, requires a decision from a general assembly. He taught the students that the board has decision-making authority that must be used on behalf of all “stakeholders” of a company, not just owners.
- Gyrid Skalleberg Ingerø is a former CFO of Telenor and the Kongsberg Group and an extremely experienced board member. She shared her vast experience, very concretely, about what one should and should not do as a valuable board member, down to details about how to stay updated on competitors, industry and technology, how to handle conflicting interests, finances, and risk. Not least, she gave good advice on what to think about if you are offered a board position, including the risks it entails (and which are rarely talked about).
- Øystein Moan, former CEO and now working chairman of the Visma Group, participated in a webinar from his new home in Switzerland, and spoke about Visma’s development, strategy and his role as working chairman (a role that is quite unusual in Norway, at least for larger companies.) He demonstrated how strategy formulation, learning and execution in a long-term perspective yields results – and provided good perspectives from a corporate strategic view, for instance by having interlocking board memberships for subsidiaries, seen from a board and senior management perspective.
- Jan-Erik Hareid, founder and managing partner of the early growth stage venture capital company Alliance Venture, spoke about the phases of a company’s development and what you look for in board members in the different phases. He gave the investor perspective, and talked a lot about the importance of recruiting and following up on the people who will actually develop companies.
- Thomas Evensen is CEO of OrgBrain , which is both a scale-up company (and thus interesting with the board challenges that entails), but also a company providing a digital platform for board work. This gives him first-hand insight into the many dilemmas that boards of directors in small and medium-sized companies have to deal with. And he gave us just that: What is happening in small companies, what do they have to deal with – and how can they recruit and use board members when they have fewer resources (people and money) to do things formally?
Case as term paper
Board work is, in my view, basically problem-solving, best learned through solving many problems and eventually developing an ability to recognize things and apply experience from one problem to another. I use case teaching to teach the students this – but there are not many cases about board work today, either internationally or in Norway. That is why I have chosen to let the students’ project assignments be to create cases – find a business that is facing a challenge where the board must get involved, the problem is complicated, and there are several alternative measures to choose from.
The students have responded very well, I must say, and the case list looks like this:
- a nationally critical internet and telecom provider that experiences an outage of half of its capacity, possibly due to sabotage, and must figure out the board’s role before, during and after such an event.
- a small IT services company struggling with growth in a tight financial situation, having to consider both professionalizing the board and management, and using co-ownership to recruit and retain the right resources.
- a manufacturing company, the cornerstone of a small community, that is experiencing a weak economy and that the corporation that owns them is starting to talk about closing it down.
- a trading company in the cosmetics and wellness sector that sees new competitors on the horizon, and must consider whether the incumbent board – consisting of old friends – and strategy are appropriate in a world where things are not as easy and pleasant anymore.
- a family-owned manufacturing company that finds their newly appointed general manager – with extensive experience in the company – resigning his position to move to a newly established competitor, on significantly better terms.
- a small, independent bank that must consider whether it is possible to continue as a small, independent and local business in a world where new, costly requirements for reporting and resource use (sustainability, anti-money laundering, cybersecurity) are constantly increasing and can more easily be borne by a larger business or through an alliance.
- A small specialist healthcare provider that must decide whether to be a non-profit or a commercial enterprise, with the organizational and cultural changes that will entail. The situation creates a divided board, and the chairman must navigate a complicated landscape.
- A water park started as a public-private partnership must balance between the stock market and the cathedral: Should it focus on commercial activity or continue a riskier existence as a primary public welfare service?
- A company developing electric aircraft must make difficult strategic choices in relation to technology development, investors, and the market situation.
- A company that provides infrastructure services must consider that some of their employees (and employees within subcontractor companies) may be classified as a security risk because they come from certain countries, or have family members who do. The board and management must consider what measures can be taken, balancing national security considerations with employee rights.
- A small company that has developed a software system is struggling to get out of the “valley of death,” a situation that is not made any easier by insisting that it is in a scale-up phase without having profitable customers. A potential chairperson must decide whether this is something to invest in or not – and whether to take the position at all.
Exam
In addition to the cases, I have – for the first time in many years – held a “closed book” exam, where students come in, take an exam without aids (they use PCs with a locked browser.) I don’t like traditional exams – they are expensive, the pedagogical effect is debatable, and they introduce possible complications (students who for some reason cannot get to the exam venue, technical difficulties, etc.) and unnecessary stress. However, BI is obliged to maintain some control over whether the students – individually – have actually learned something. Group assignments introduce the possibility of free riders, home exams can be solved by ChatGPT and other large language models.
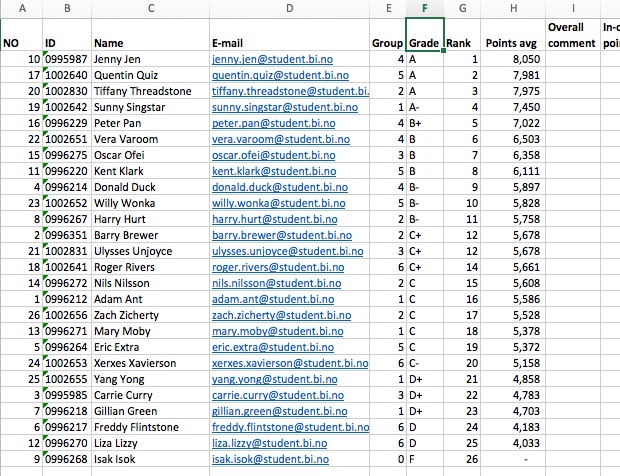
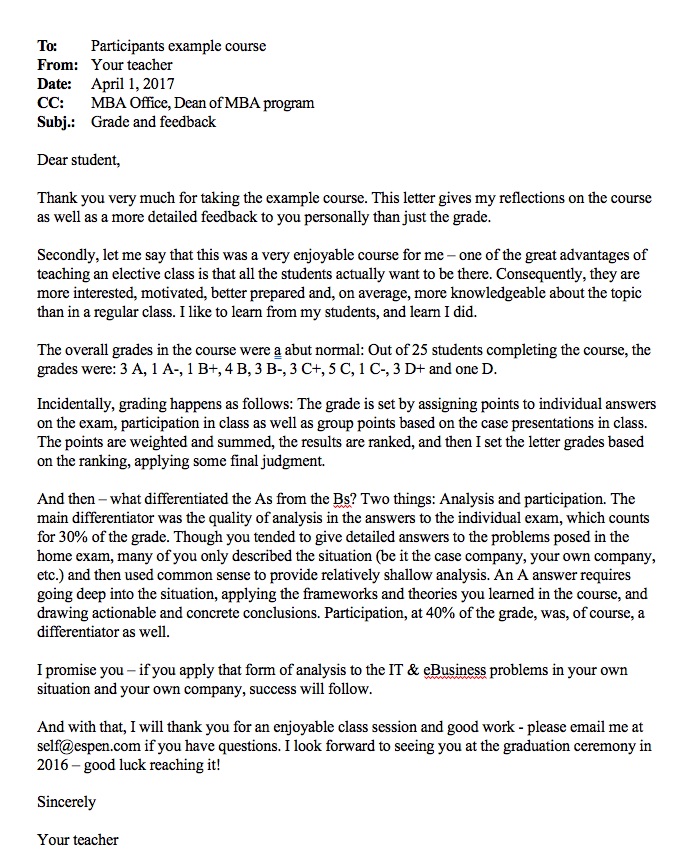
So, exam it was. I chose to make it with relatively simple and clear questions, about key topics in the course (“What does it mean that equity has been lost, and what is the board’s responsibility in such a situation”). The purpose of an exam is simply to check that the students have understood the main points of the course, not to get bogged down in esoteric details. That is why I also plan for the students to be given a certain number (5, this time) of questions, of which they will have to answer a smaller number (this time 4). This prevents the student from sitting there and not remembering some detail or another and feeling crushed because of it.
Further development
Post-implementation, we have found the course content to be fairly complete – no haven’t found any major gaps in the curriculum or things that absolutely should have been included. If anything, we should perhaps have more about companies in development phases, something about board membership remuneration and opportunities to use stock options and other mechanisms for adjusting goals and incentives for the board and management. We should also have more practical information about sustainability and sustainability reporting, and also something more about how a board should relate to and actually do before and in a bankruptcy situation. Theory-wise, we could have had more about principal-agent issues (in addition to discussions about corporate governance), but the theoretical apparatus there often ends up in situations that are relatively esoteric from a Norwegian perspective.
The most important element will be to develop learning activities that allow students to gain some form of experience of board work and board assessments. I believe in case teaching, and several of the cases described above have the potential to become very good teaching cases, which are in short supply. The process around writing the cases (which I will continue) could be tightened up and better documented.
The course will next be held in the fall of 2025. Some feedback from students is on LinkedIn ( here , here , here and here , for example.)
I’m really looking forward to the next time – and if you need good board members, I have many good candidates to offer!


 For the past two days I have run a seminar on case teaching for faculty at the University of Stavanger Business School, by initiative and invitation from
  Case teaching is not just for the classroom – increasingly, you can (and some schools do) offer discussion-based (or, at least, interaction-courses online.) My buddy Bill Schiano and I wrote a long note on how to do this for Harvard Business Publishing back in 2017 – and I then completely forgot about it.
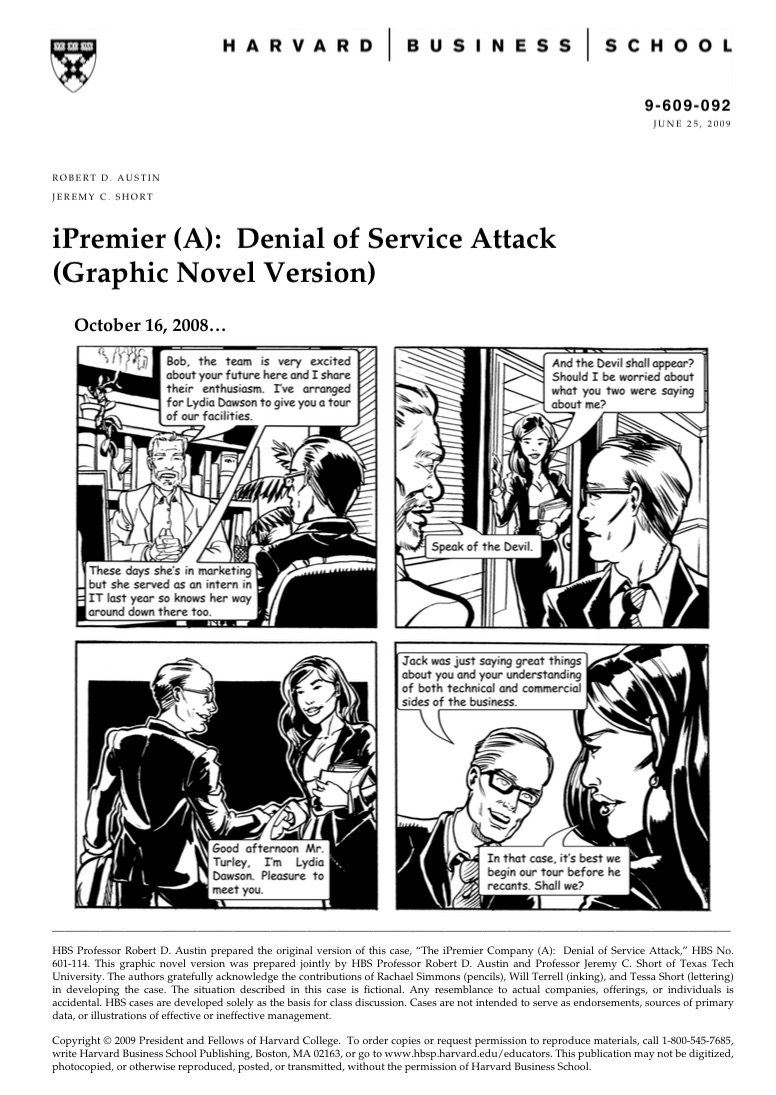

 I have been asked to give a keynote speech at


 The Table of Contents in the paper and PDF version of